How to use PDF Blackout
PDF Blackout
Open a PDF in PDF Blackout, drag boxes over what to hide or find a word, every email address or every phone number, and save a copy where those parts are gone from the file.
Bought PDF Blackout? Sign in with the email you bought it with to download the latest version or ask me a question.
On this page
Install PDF Blackout
PDF Blackout runs on macOS 14 Sonoma or later, on Apple silicon and Intel Macs. After buying, you land on a page with a Download button. You can also get the app from your Creem receipt. Unzip the app and drag PDF Blackout to your Applications folder.
The app is signed and notarized by Apple. Confirm Open at the normal first-launch prompt.
PDF Blackout asks macOS for no permission. It reads the PDF you choose and writes the copy where you tell it to.
The app checks for updates once a day. When a new version is ready, click Install and Relaunch. To check anytime, choose PDF Blackout → Check for Updates….
If your copy still asks for a key, download the latest version from your purchase page and replace the old app in Applications.
Open a PDF
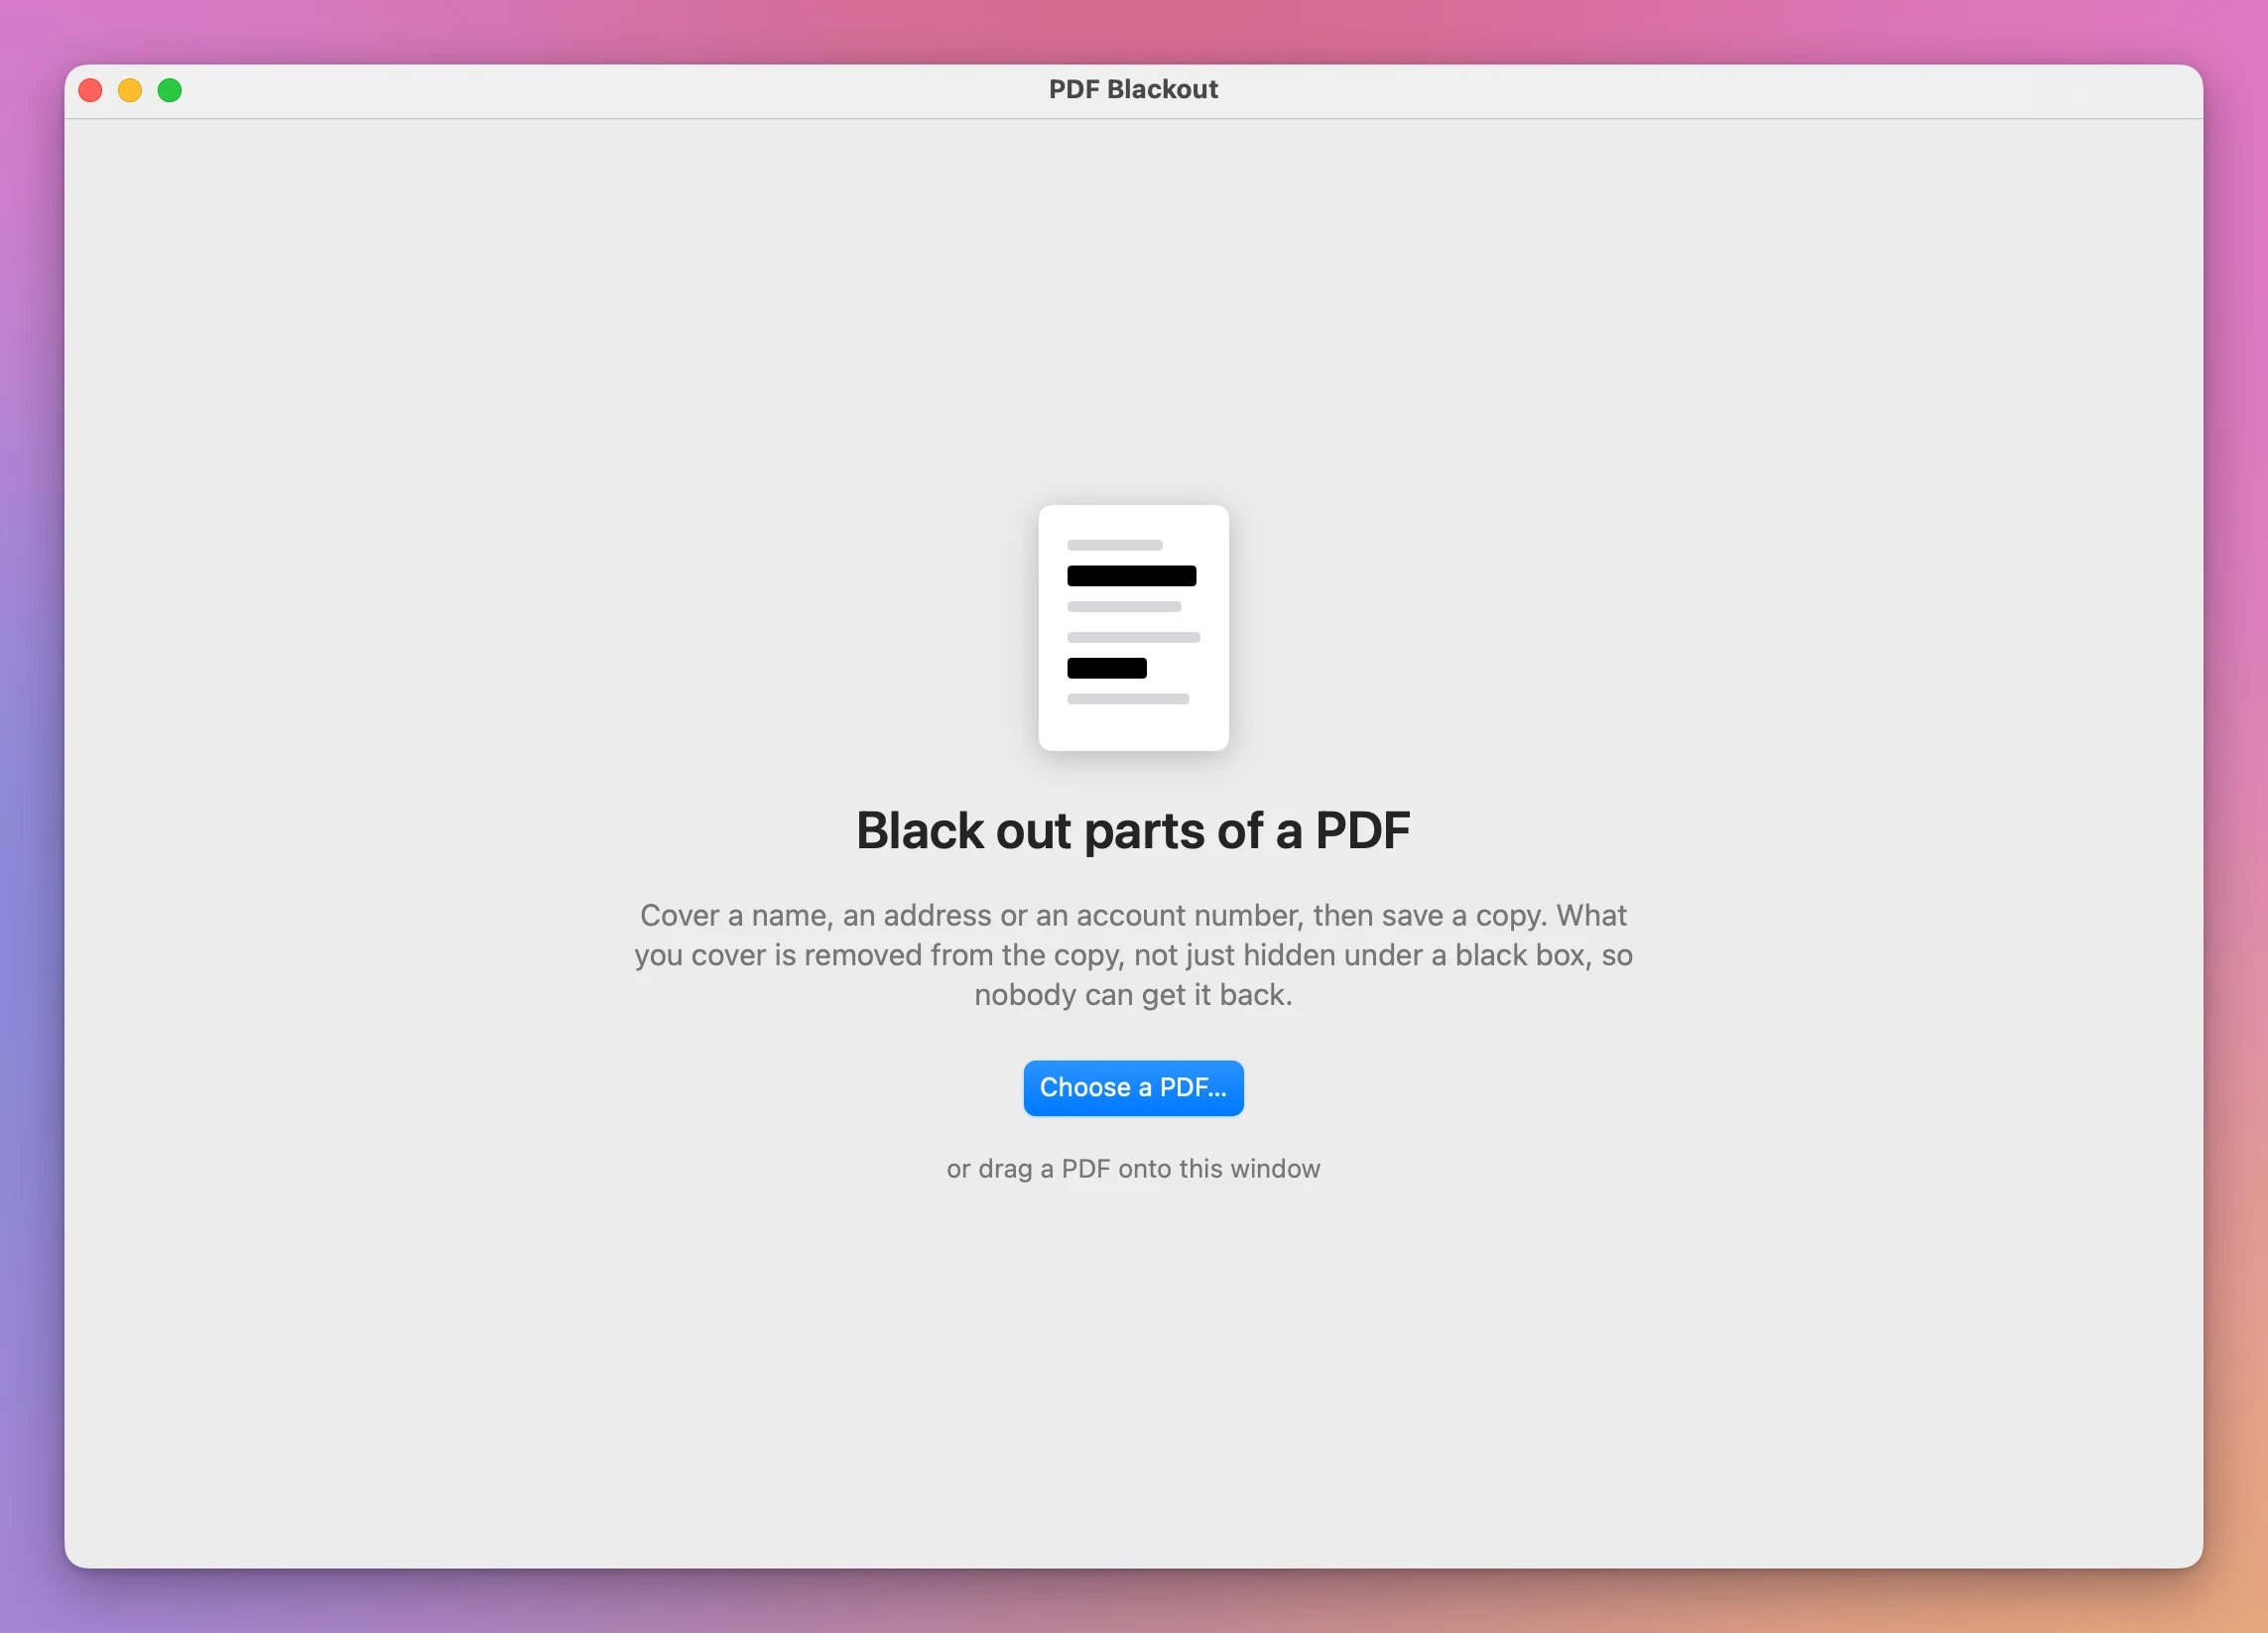
There are three ways:
- click Choose a PDF…, or choose File → Open… (⌘O);
- drag a PDF onto the window;
- drag a PDF onto the app’s icon.
The PDF you open isn’t changed.
If the PDF is locked with a password, the window asks for it. Type it and click Open. The blacked-out copy you save won’t need a password.
If the file isn’t a PDF or can’t be opened, the window says so. Choose a file whose name ends in .pdf.
Draw boxes
Drag over what you want to hide. A box appears.
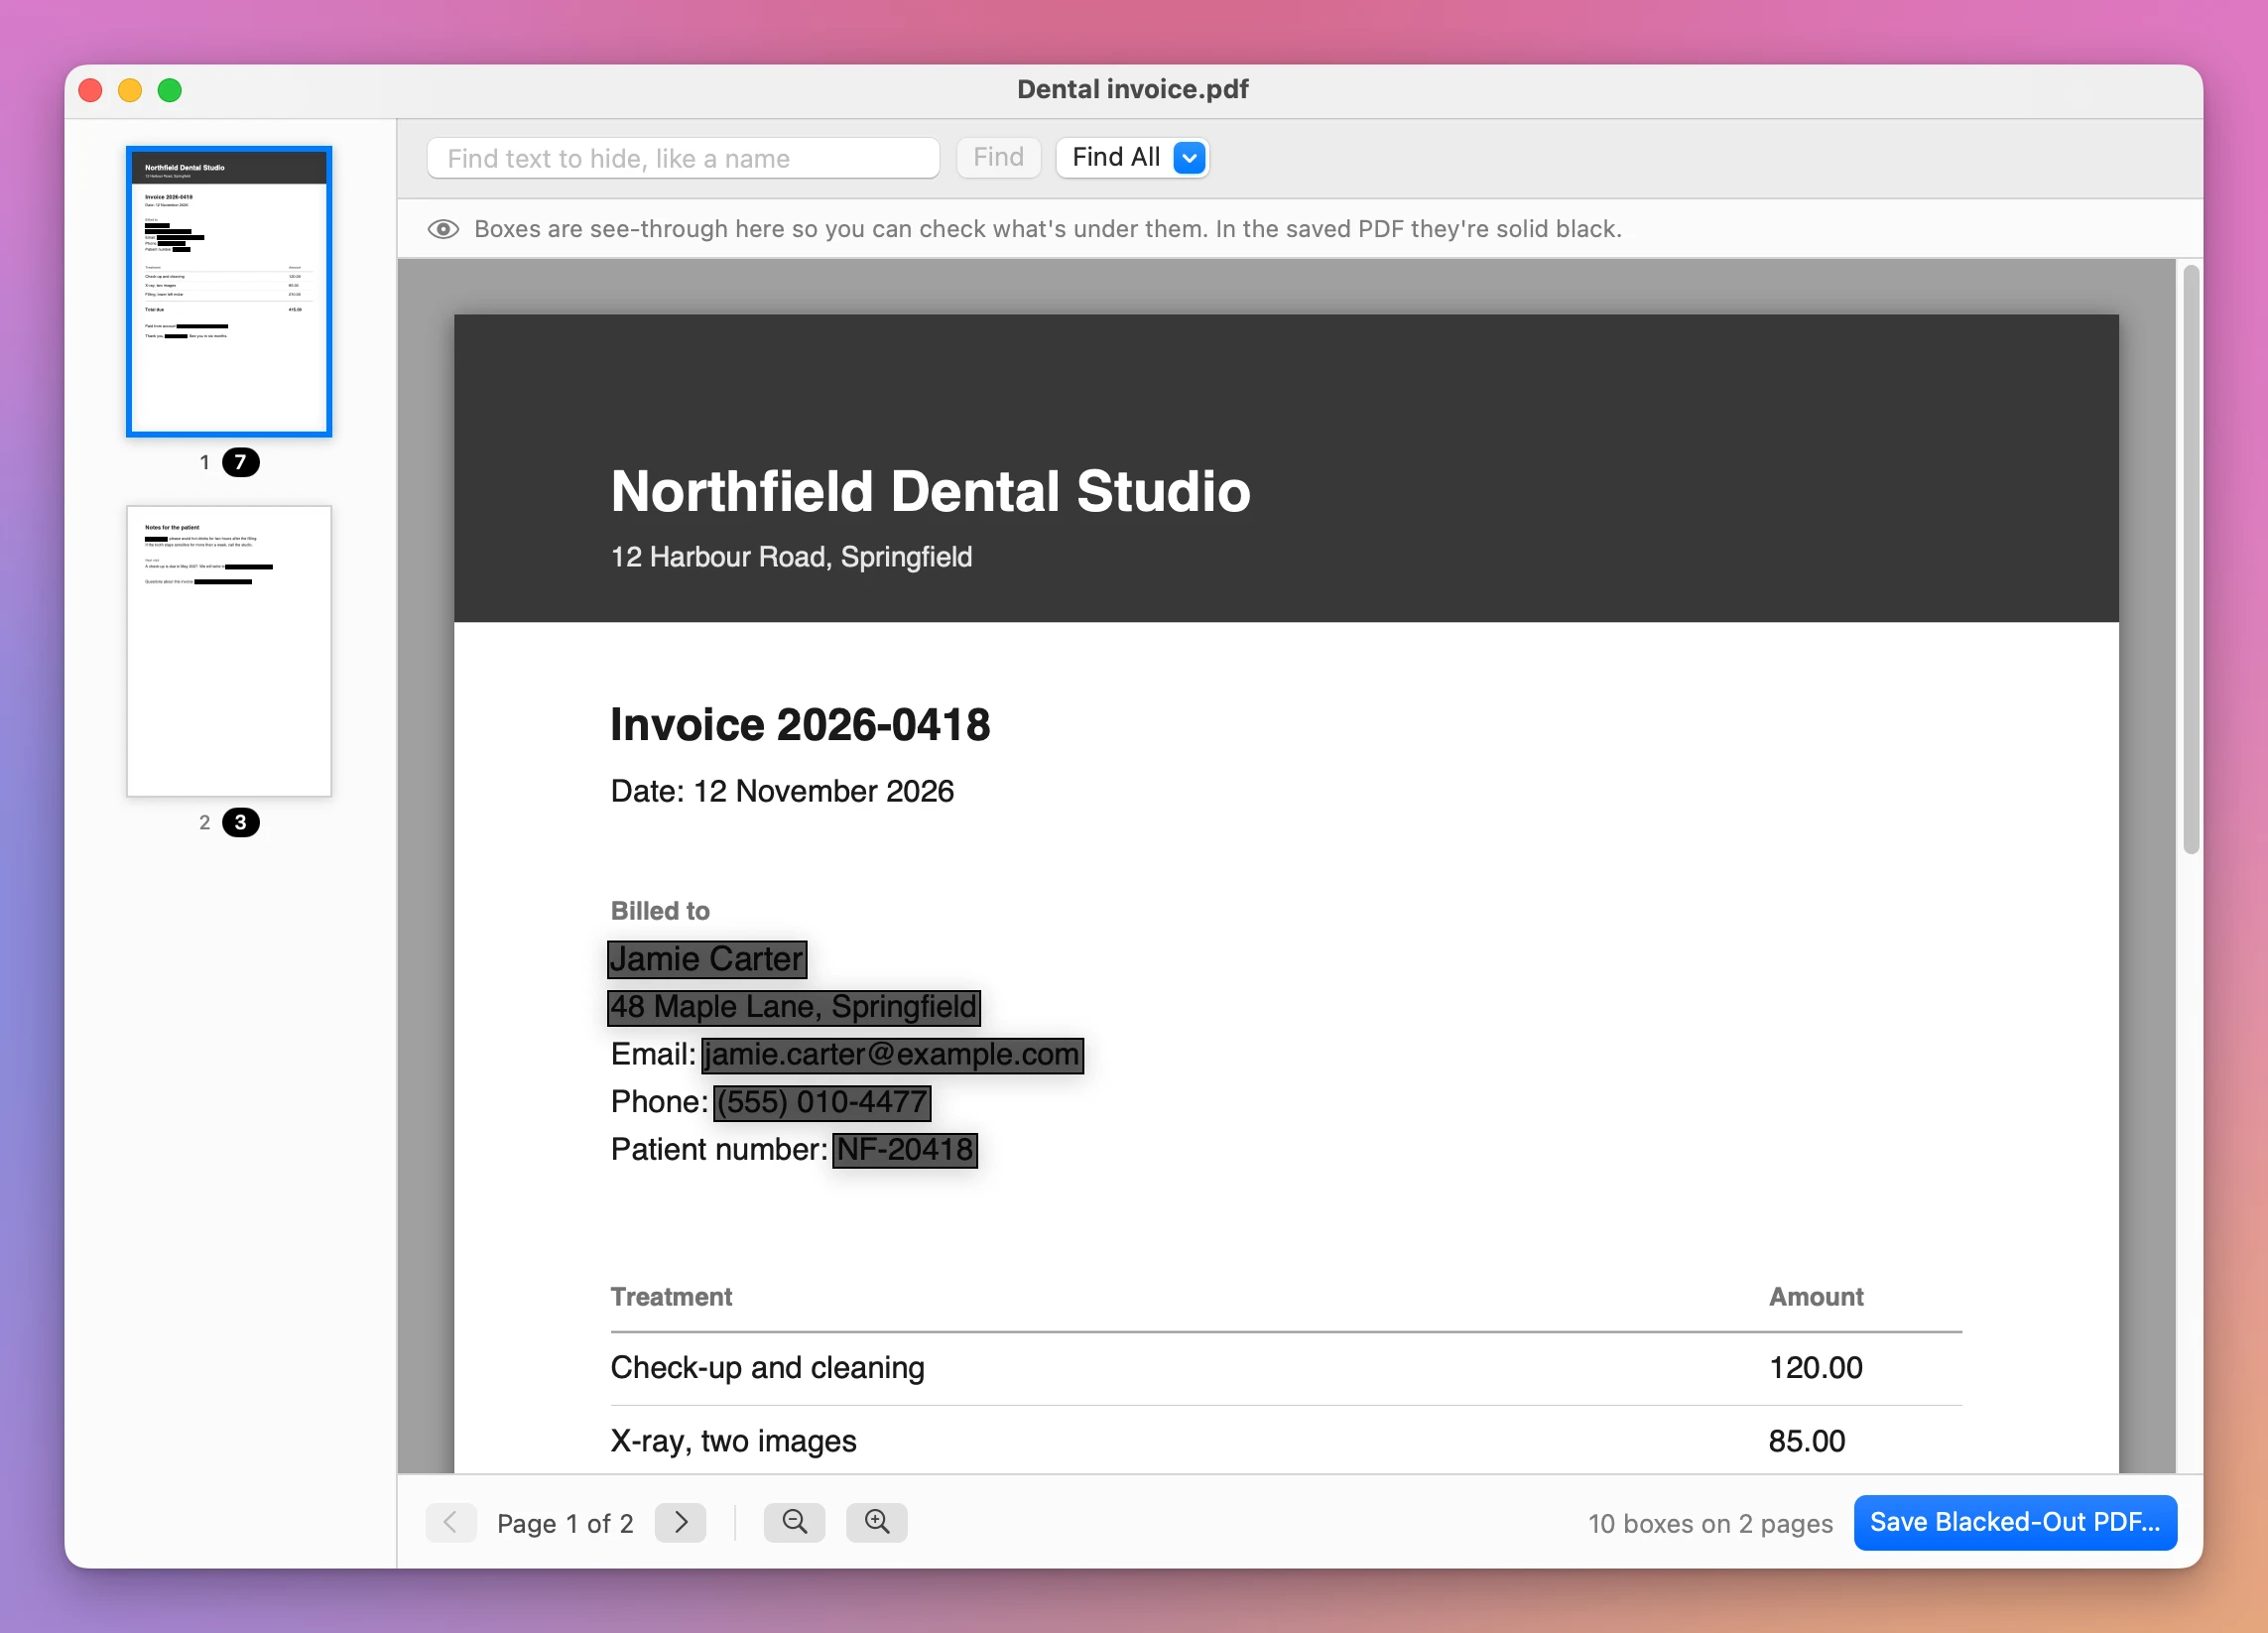
The boxes are see-through while you work, so you can check what’s under each one. In the saved PDF they’re solid black.
Click a box to select it. Then:
- drag it to move it;
- drag a corner to resize it;
- press Delete or click the red button to remove it.
Edit → Undo (⌘Z) takes back the last change. Edit → Remove All Boxes removes every box on every page.
Find text to hide
To hide a word everywhere, type it in the search field and click Find. Every place it appears is marked in yellow, on all the pages, and a yellow strip under the search field says how many it found, like “Found 3 times on 2 pages”.
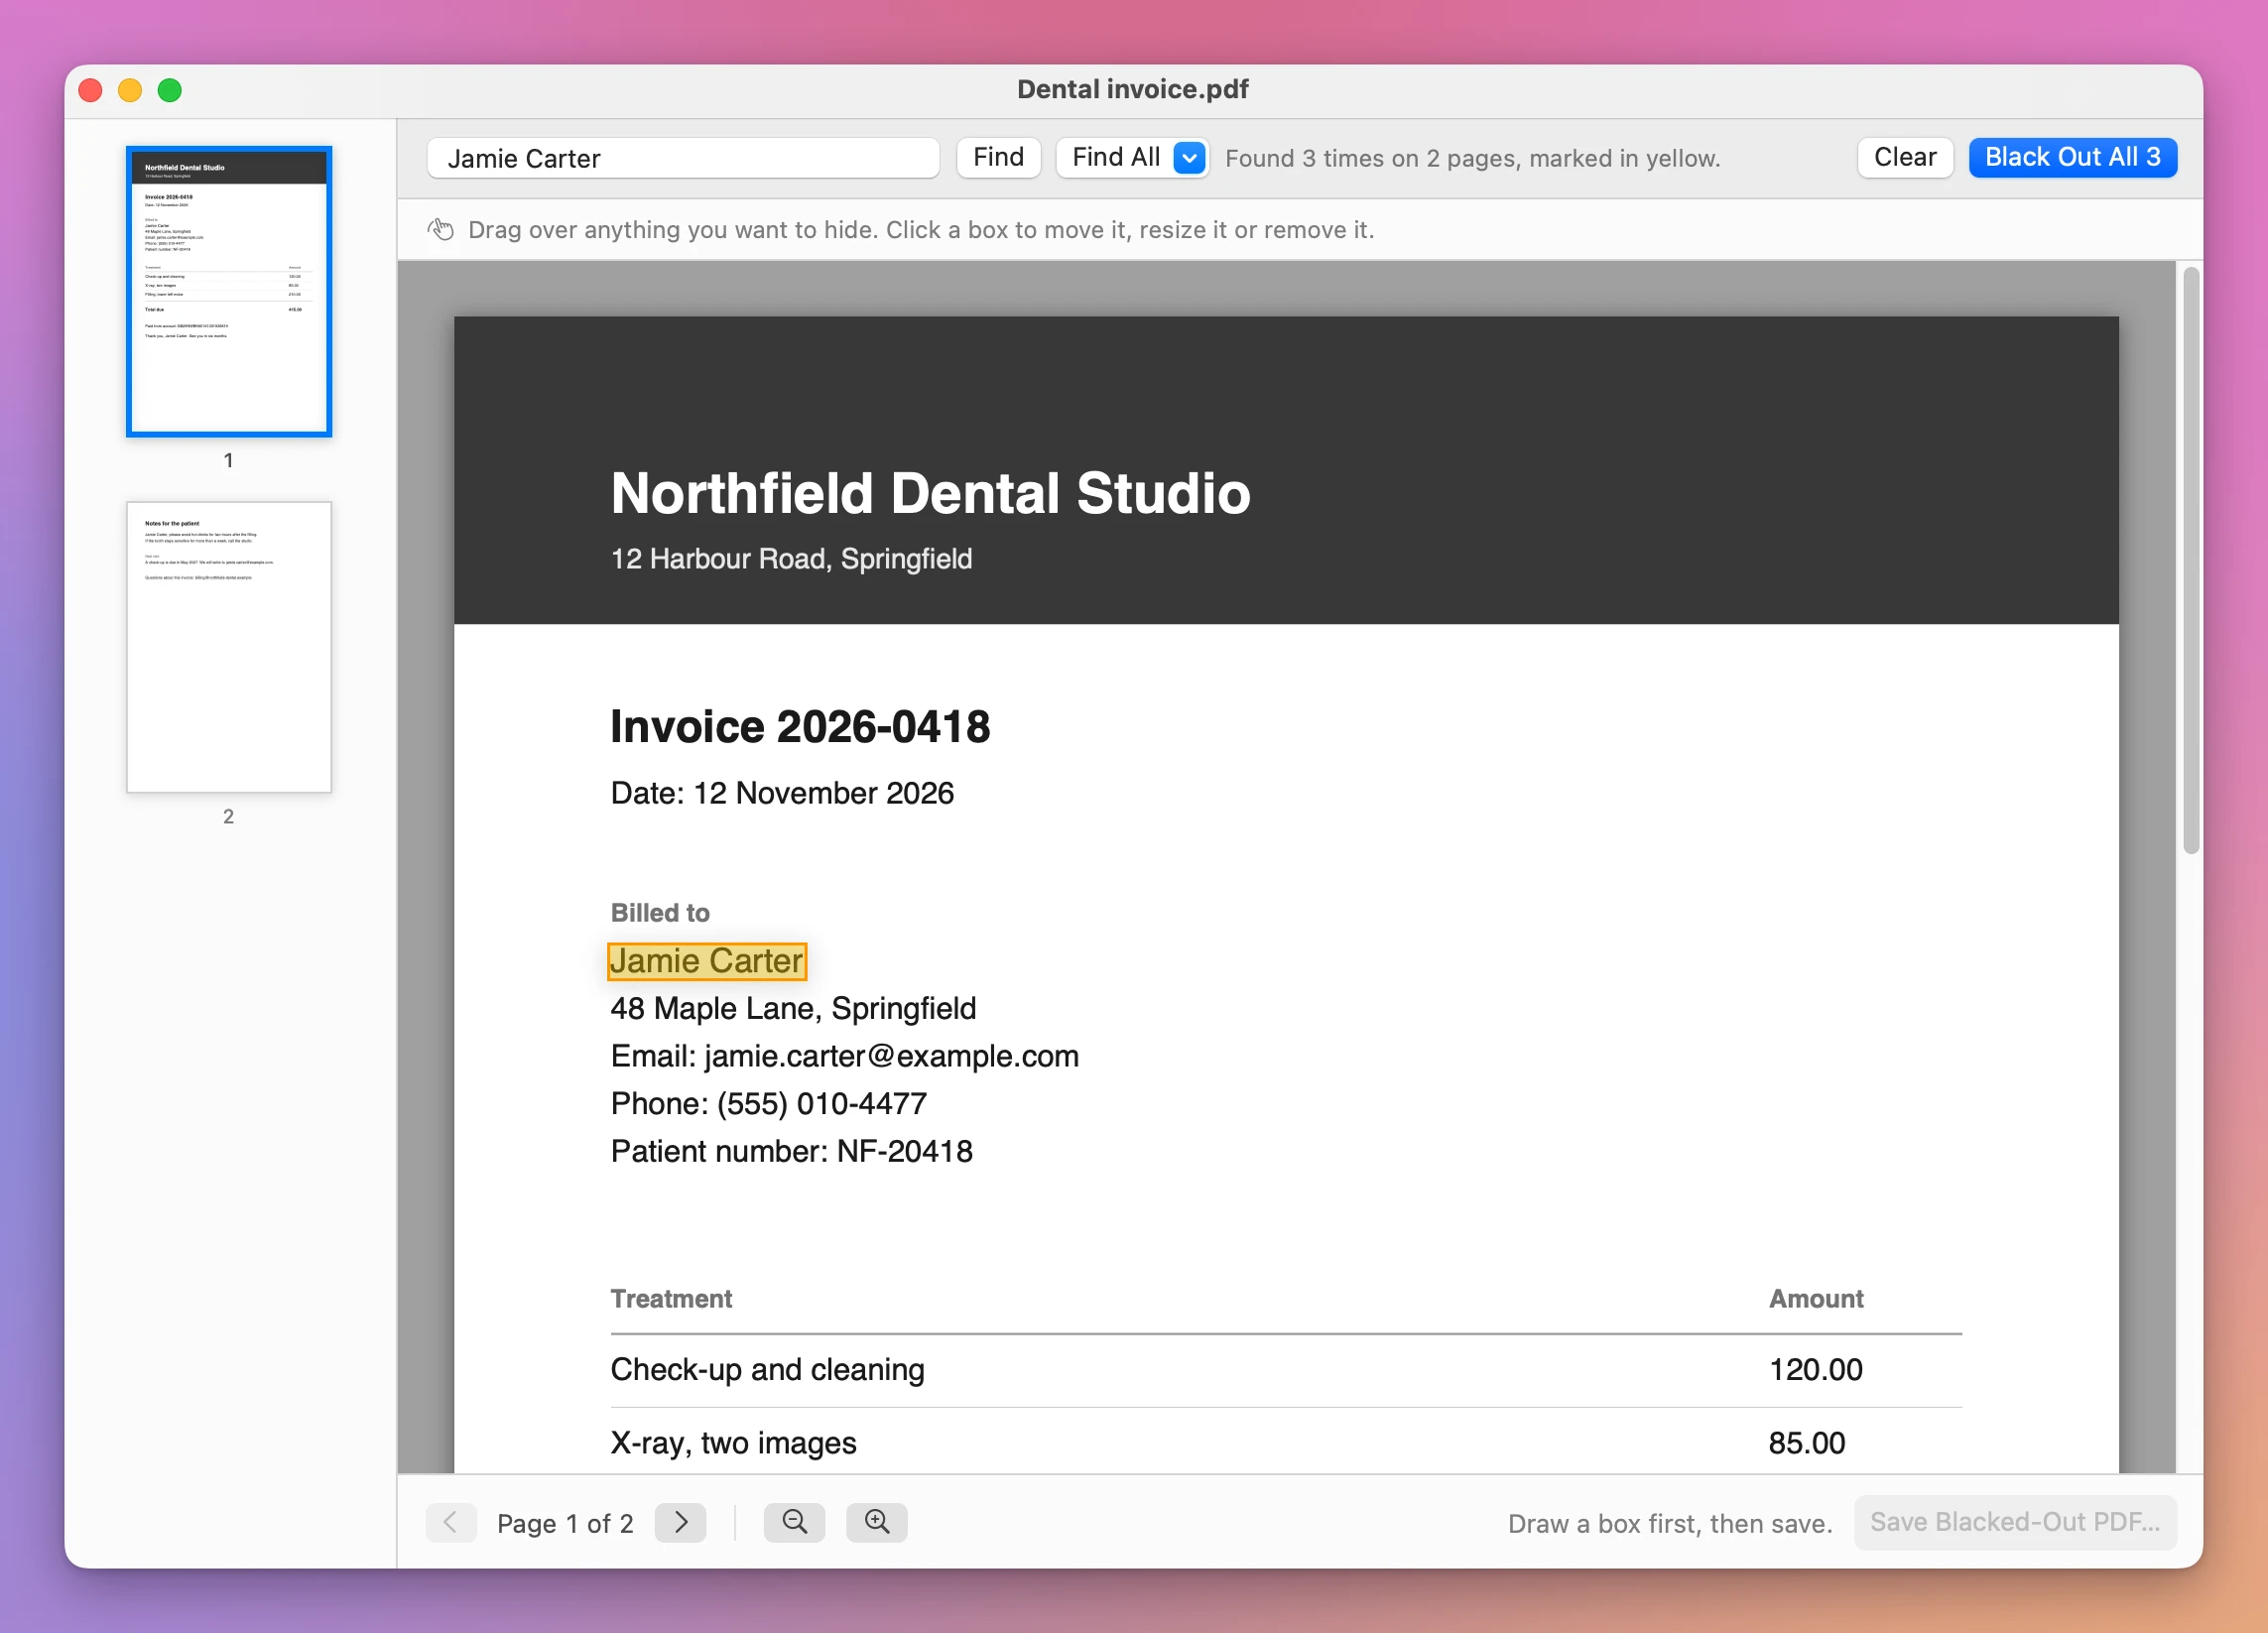
Click Black Out All to turn the marks into boxes. Clear removes the marks without adding any box.
To find every email address or every phone number in the PDF, click Find All and pick Email Addresses or Phone Numbers. They’re marked in yellow the same way.
The search finds what looks like an email address or a phone number. Check the pages yourself too.
If the window says “Nothing found”, the word isn’t in the PDF’s text. A scanned PDF is a picture of the paper and has no text to search, so drag over the words instead.
Look at every page
The list on the left shows each page with its boxes in black, and a label under it that says how many it has, like “7 boxes”. Click a page to go to it. The arrows at the bottom go to the previous and the next page.
To see small text better, use the zoom buttons at the bottom, or View → Zoom In (⌘+) and View → Zoom Out (⌘-). View → Fit Width (⌘0) makes the page as wide as the window again.
Look at every box before you save. If the same name is on a page where you drew no box, it’s still there.
Save the copy
Click Save Blacked-Out PDF… (⌘S) and choose where the copy goes. The app suggests the original’s name followed by “blacked out”, like Dental invoice blacked out.pdf.
The button is greyed out until there’s at least one box, and “Draw a box first, then save.” is written next to it.
The copy is a new file. Your original PDF is never changed, and the app won’t let you save the copy over it. If you pick the original, the app asks you to save the copy under another name.
While it saves, the window says which page it’s on, then “Checking the saved file…”.
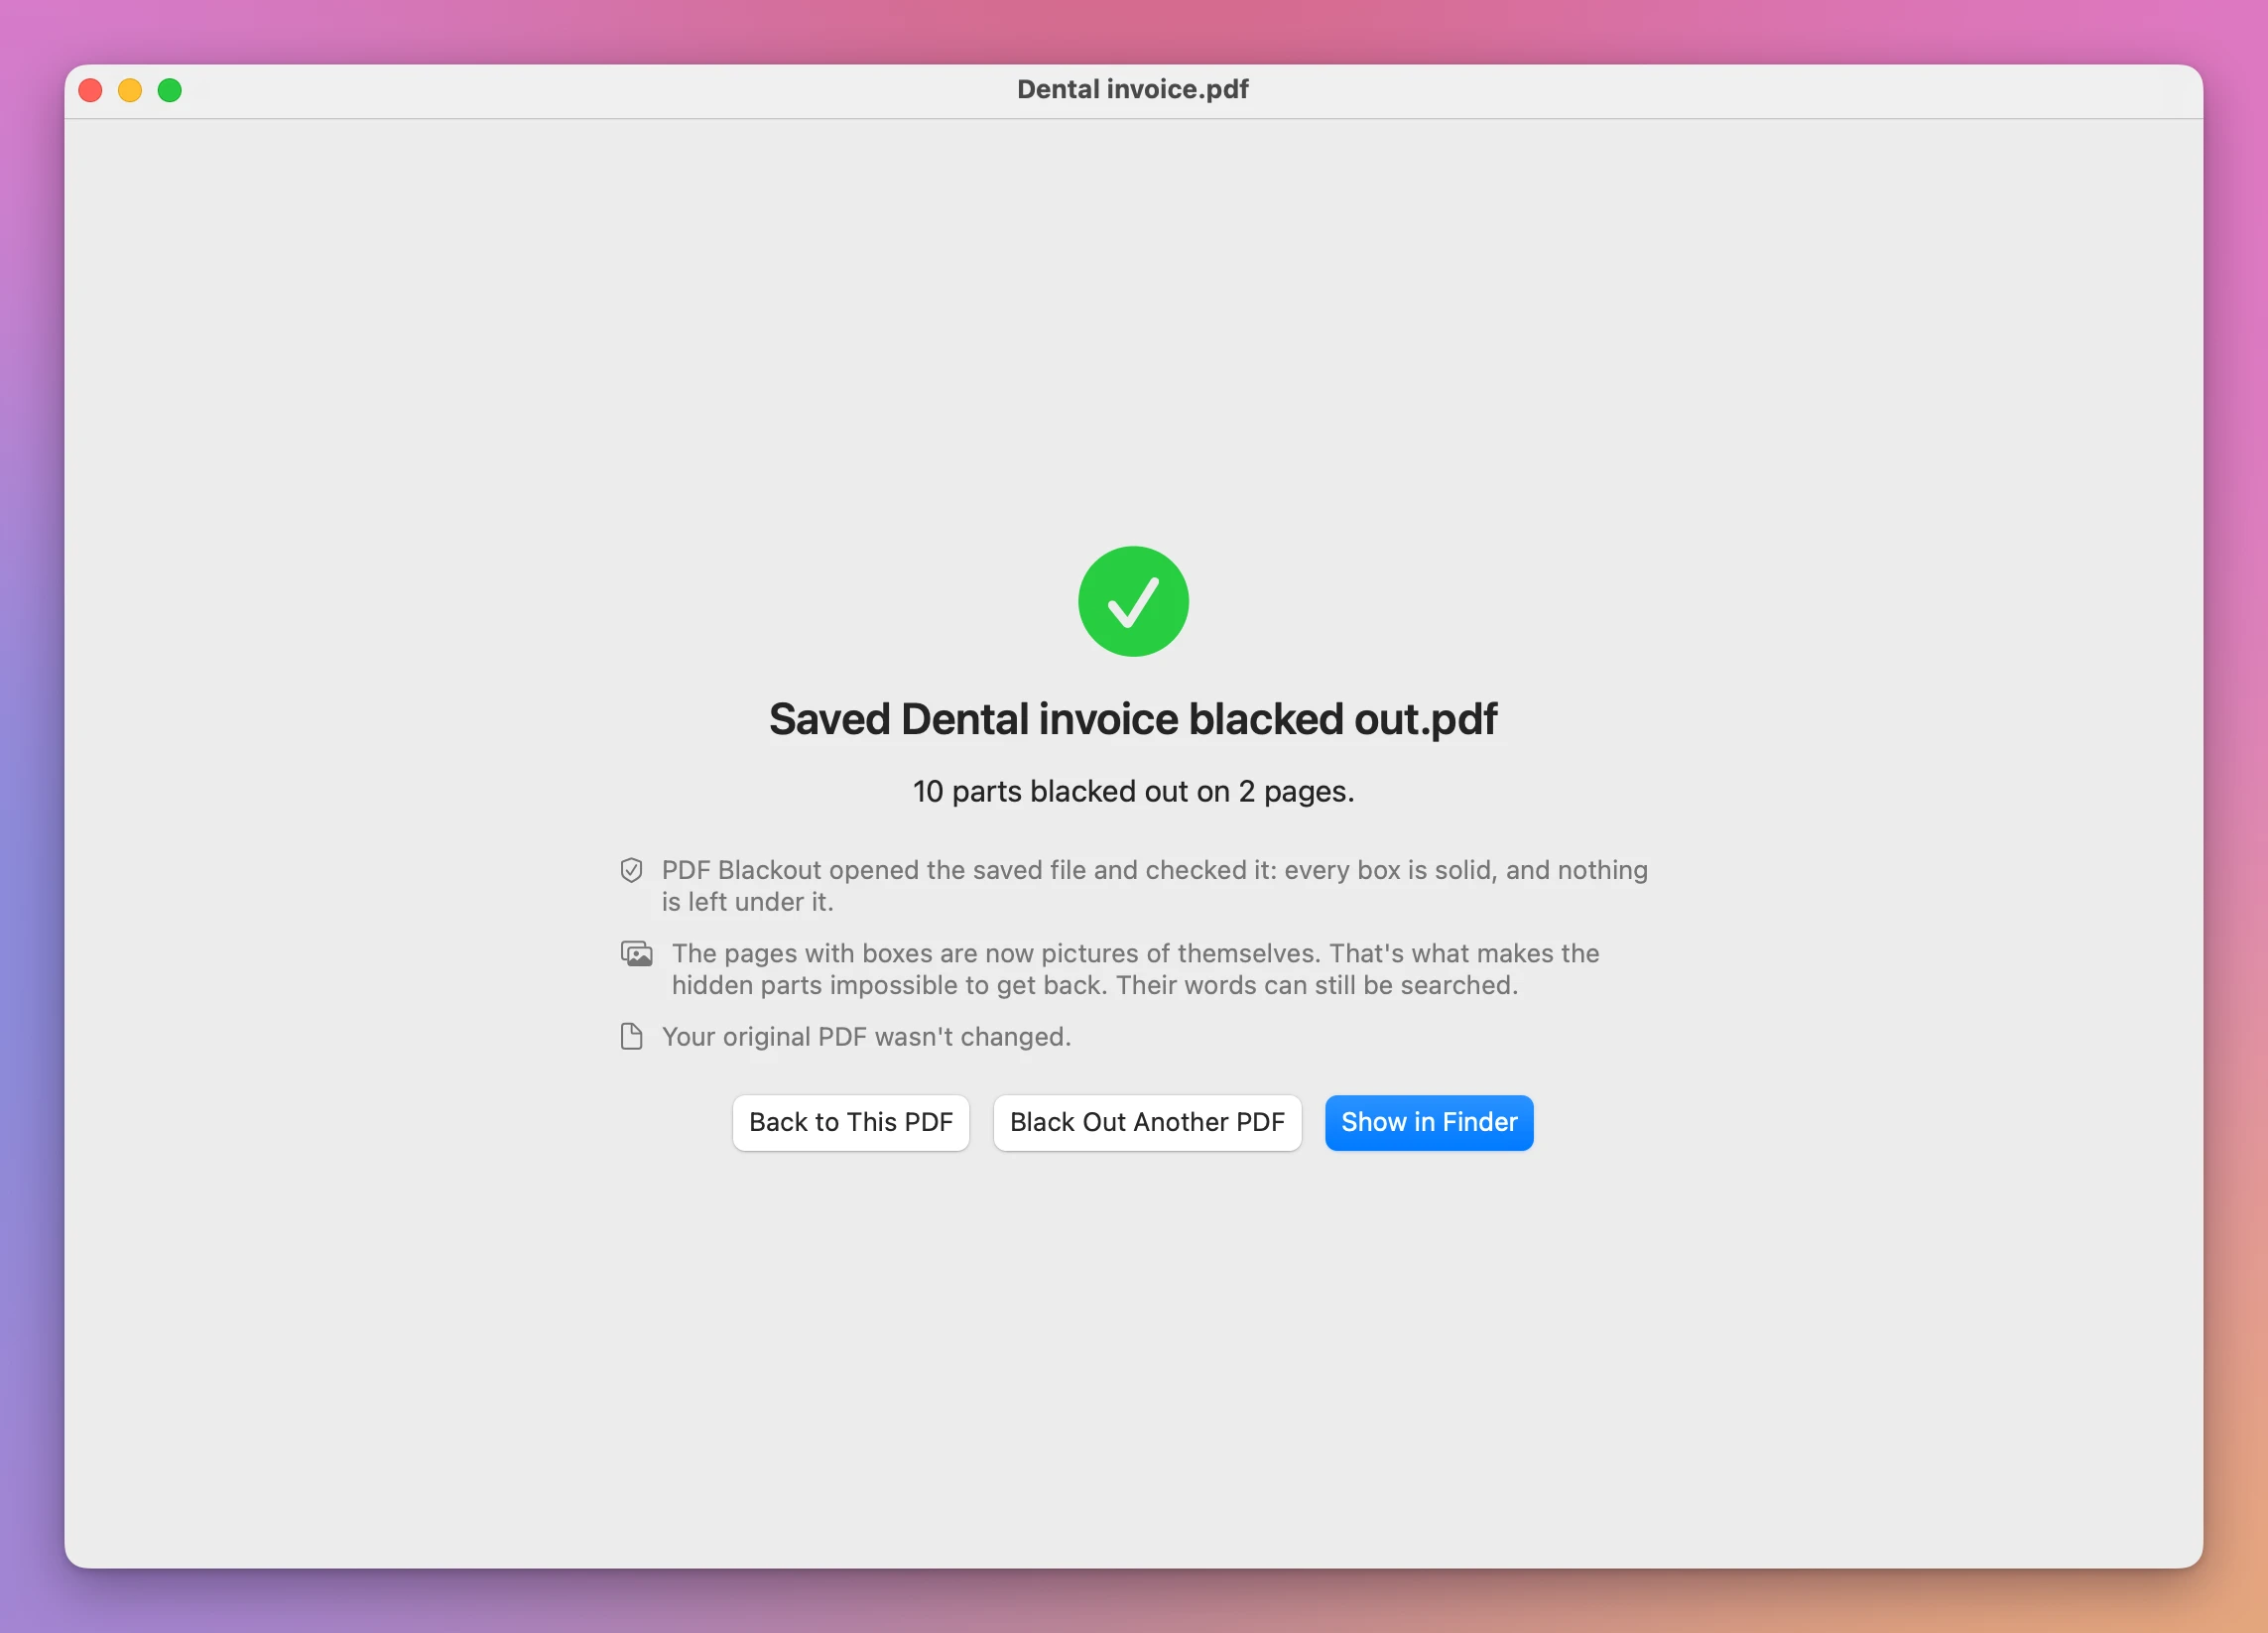
When it’s done, Show in Finder shows the copy, Black Out Another PDF starts again with another file, and Back to This PDF returns to the same PDF with its boxes.
What’s in the copy
Each page with a box becomes a picture of itself, with the boxes painted on in solid black. The text, the images and the notes that were on that page aren’t copied, so there’s nothing under a box to find.
The app then reads the words back from the picture, so you can still search those pages. Those words come from the picture with the boxes already on it.
Pages without a box are copied as they are. The original’s title, author, bookmarks and attachments aren’t copied to the new file.
After saving, PDF Blackout opens the copy and checks that every box is solid and that the pages with boxes have nothing left from the original. If the check fails, it deletes the copy and tells you. Your original isn’t changed, and you can save again.
If the copy can’t be saved
The window says what went wrong:
- The copy couldn’t be saved there. Check that the folder still exists and that there’s room on the disk, then save again.
- A page couldn’t be turned into a picture. Nothing was saved.
- The app wasn’t sure about a page. It deleted the copy, so you don’t get a file that might leak. Try saving again.
In every case your original PDF wasn’t changed.
Things to know
- A page with a box is a picture, so its text is a little less sharp when you zoom in a lot, and the file is larger.
- If the same name is on a page where you drew no box, it’s still there. Use the search to find every place.
- A scanned PDF has no text to search. Drag over what you want to hide.
- The search for phone numbers and email addresses finds what looks like one. Check the pages yourself too.
- Before you send a blacked-out PDF to someone, open it and look at it yourself.
Privacy
PDF Blackout works on your Mac. Your PDFs are never uploaded, and the app reads only the PDF you open.
Once a day the app connects to updates.flaviocopes.com to check for a new version. If the Mac is offline, nothing changes. There are no accounts and no analytics.
Not made by Adobe
PDF Blackout isn’t made by, affiliated with or endorsed by Adobe. PDF is a file format first made by Adobe, named here only to say what the app works with.
More examples
PDF Blackout is $20, a one-time purchase.